Tuesday, January 1, 2013

Building a TT-01

Tamiya Radio Control car kits are, by and large, the most common RC cars available to build. True, HPI Racing and a few other brands are arguably better and more popular, but you have to hand it to Tamiya to be a frontrunner in sheer volume of RC car kits produced.

Recently we have had a chance to put together a Tamiya TT-01E chassis kit, and thought it would be good to share some advice on its construction.

Trust the instructions. Believe it or not, Tamiya does pretty well with their instruction sheet, and there is a reason why they are one of the best in the business. All the nuts and bolts and gears are sized to actual size on the side of the page, and you only need to pull them out of their bags when you need them for any particular step. Since there's no glue involved with the basic put-together, all you need to do is follow the steps.
Keep the work area organized. We usually lay out a couple of paper towels to keep any small parts from rolling off the work area. Also, it pays to have the work area well lit as you will need to see what you are doing with the smaller bits.

Also essential is a clean workplace, especially when construction of the gears and differentials are taking place. That grease and oil will pick up dust so try and keep your fingers clean too!
 Only bring out what you need for any particular step. This is essential, as there are many steps that involve similar looking parts which can get confused with each other. Do take your time and remember, its all for a fun time! No need to stress yourself out with a missing part!
Alignment is essential for the steering assembly, especially for the TT-01. As an entry level kit, the parts need to be cleaned and trimmed of any sprue/plastic runner leftovers, so having a hobby file or knife to trim these off is a good idea.
Take time to inspect moving parts in between steps. Some assemblies might be turned on too tightly which will hinder movement later on. Its best to keep checking at the end of every numbered step that all action is free and clear, as to avoid disassembly of multiple steps to get back to the culprit screw or nut.
 Check alignments when you can. Especially with the steering and suspension. This is important even before you put on the steering servo, as installing a servo onto a misaligned steering bar might prove to be a confusing point later on.

Don't be afraid to spin and test actions during construction. This helps avoid over-tightening screws and bolts which might hinder movement and action later on. It will also help you identify any part that DOES NEED tightening.
Mark the body post holes BEFORE painting the body shell. Since body shells have a transparent outer sheath, it will be easy to keep track of where you need to drill after the paint goes on.
Test the wiring before sealing everything up. Needless to say, having the motor plugged in reverse might stuff a race up.
Tidy up that wiring. No really, having the wiring neatly bundled up and out of the way really helps, especially when it is out of the way of the steering arms and main shaft. Most importantly, wiring should be kept away from the motor, as the heat from running the car might melt the rubber off the wires and cause a short.

NEXT WITH THE TT-01: Painting a body shell!

A little styrene goes a long way

We've had a few questions regarding the use of Evergreen Styrene; what were they for?

Styrene sheets, tubes and rods have many uses in modelmaking, especially for basic and advanced modifications. There are many uses, from minor little modifications to constructiong an entirely new model kit from it!

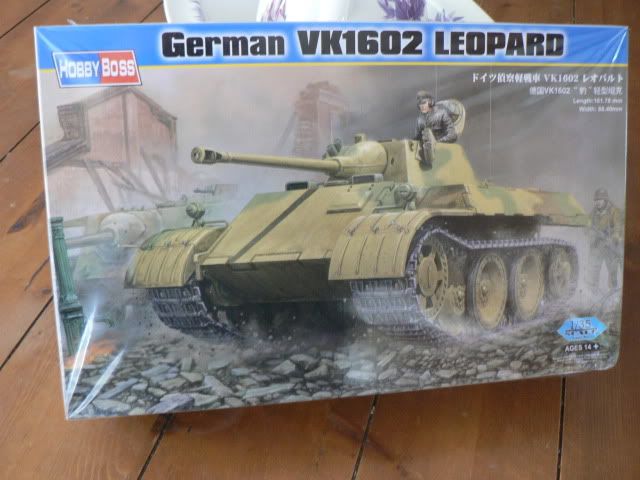
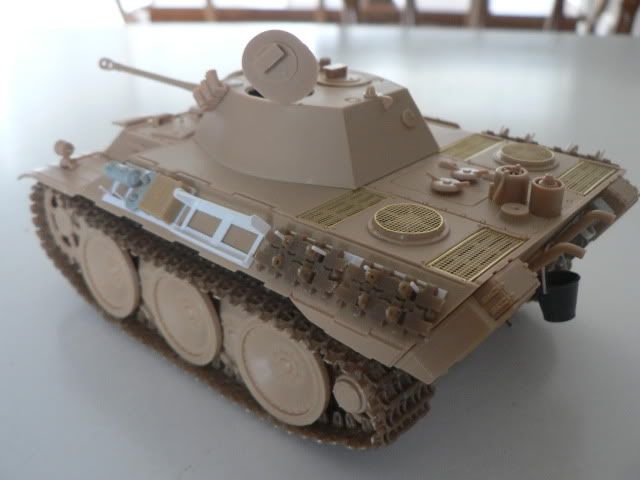
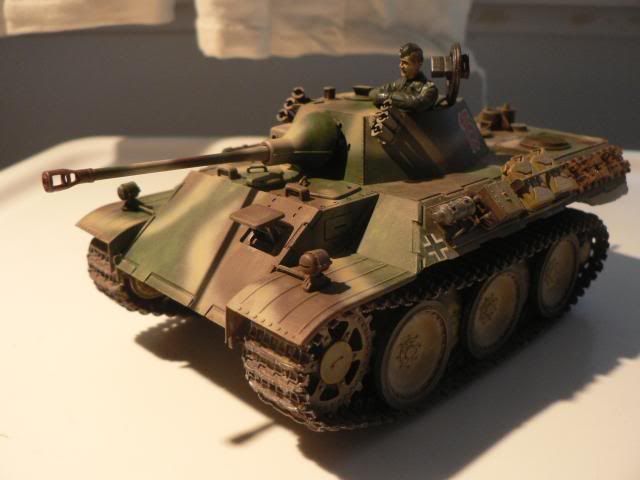
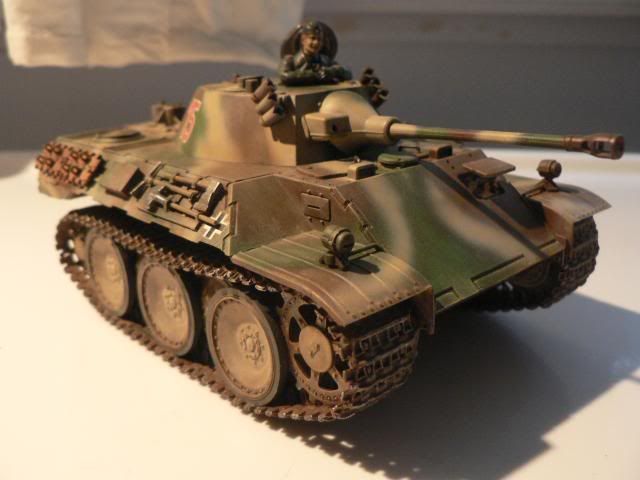
Here's an example how a little styrene can help bring out a bit of detail from a model. We've started out by finishing the Hobby Boss VK601 Leopard light tank, and making it look like its in service...

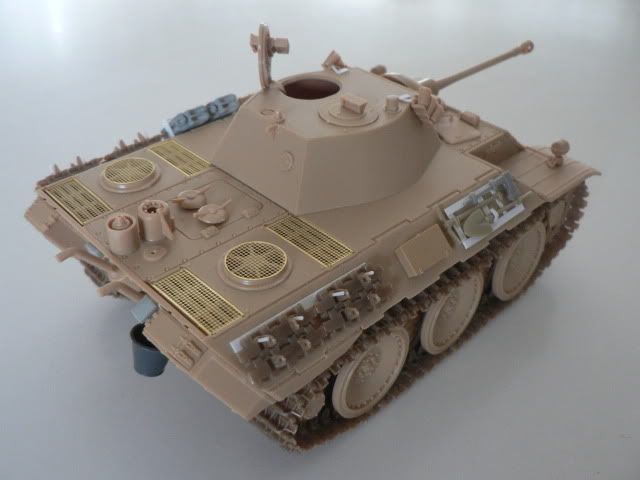
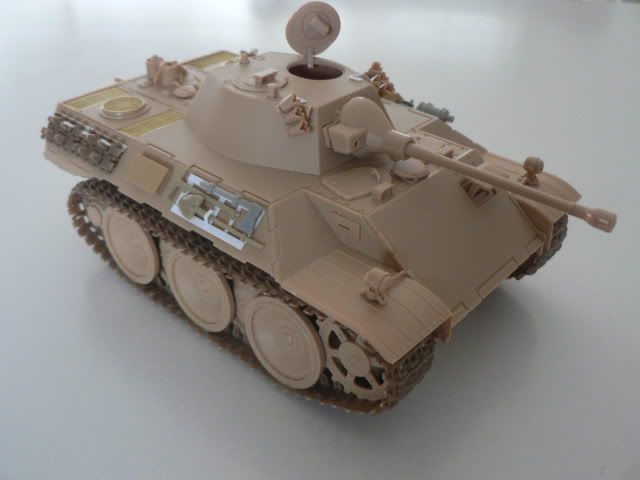
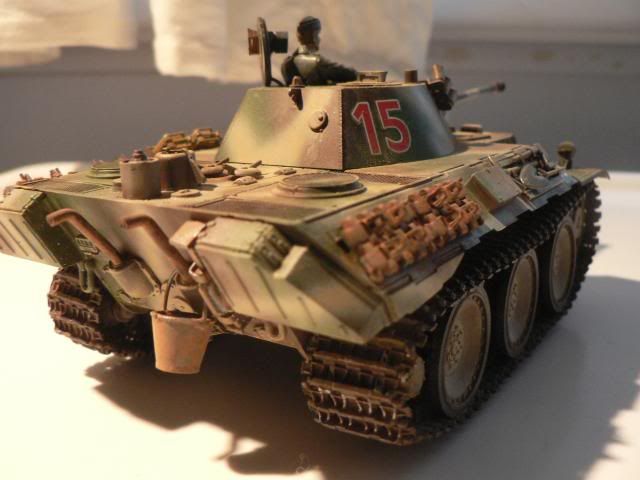
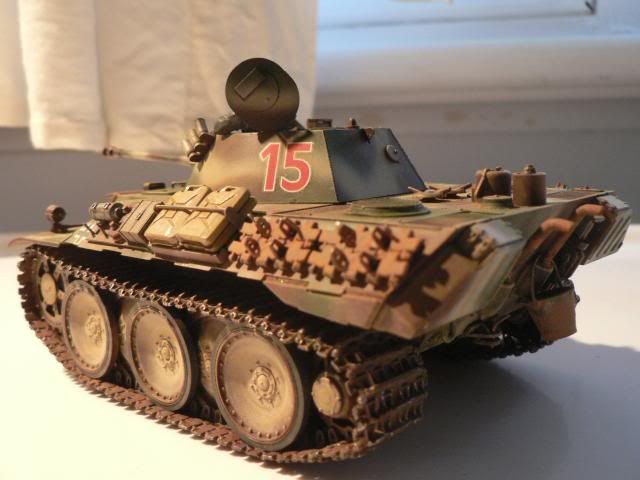
The idea is to use the spare tracks supplied in the kit, and doing a tool rack and jerry can holder, similar to what in-service Panther tanks have.

It was really easy to make; all you needed was just a few strips and rods, and handy imagination as to how it will look like when painted.

And before you know it, that's all you needed to fill up the sides, as compared to a rather bland and flat tank if you didn't have them on.

And there you go! Little details do make up a bigger picture. After careful painting our little Panther cub looks ready to go!


Designing your own airplane markings!

We frequently get asked by novice modelmakers this question: do you really have to do what's on the box?

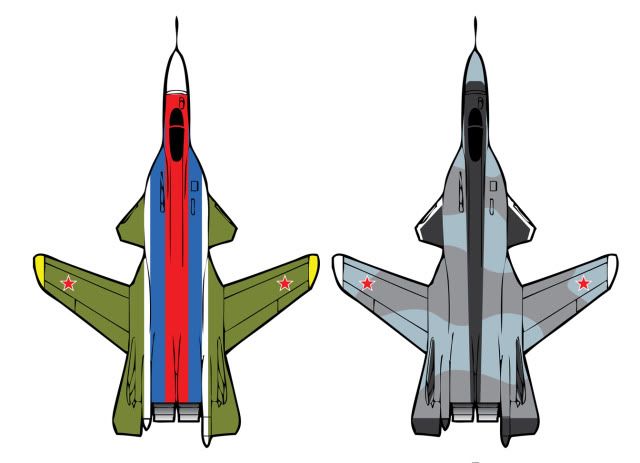
The simple answer is NO! As it is with the hobby, your imagination is your only limit! As an example, we tossed a few ideas around as to what to do with a plain black Hobby Boss 1/72 SU-37 Berkut. Our initial ideas went along these lines...

So it went that we decided to do a combination of two designs, just to give the unusual looking airplane an unusual look. The shapes were easily obtained by using Tamiya Masking Tape, and a bit of fun.

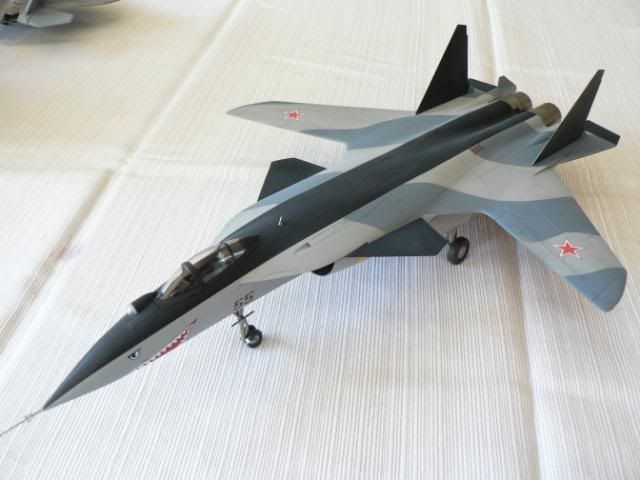
Needless to say, the results were quite spectacular! Nothing like a bit of colour to spice up an otherwise drab looking aircraft.


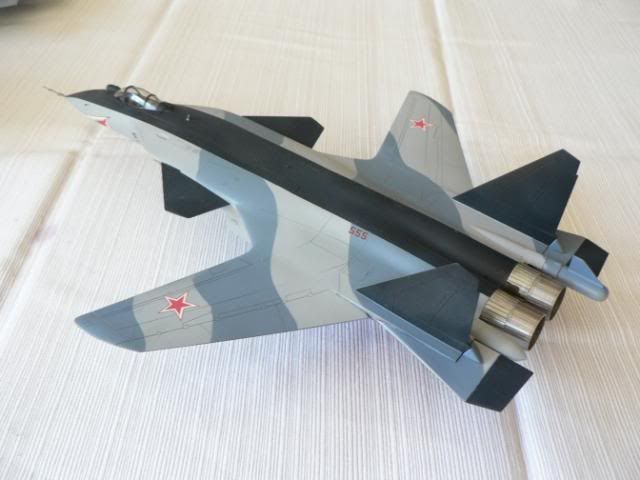
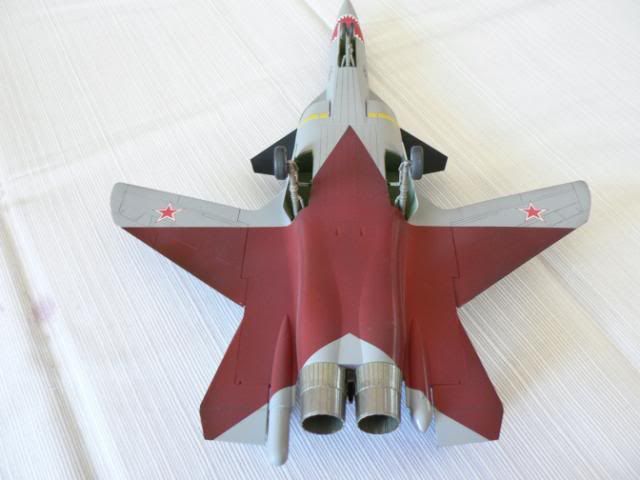
What an airplane! Here's a quarter rear view. Then let's see what we did under it...

The Russian star would be the spotlight for anybody seeing the plane from below. They'll be seeing red!

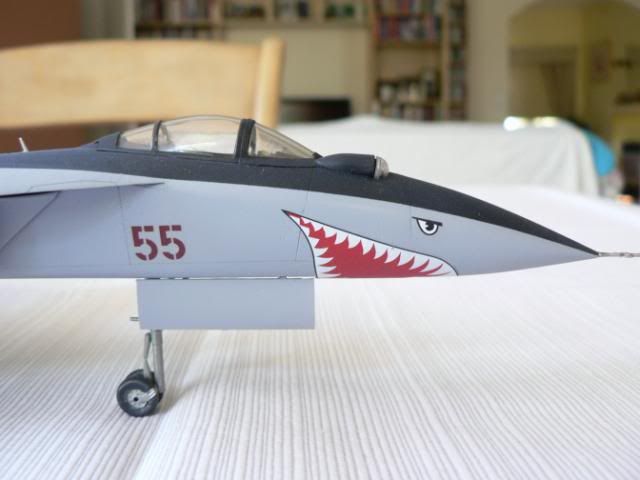
The highlight would still be the sharkmouth, which we scavenged the decals from a hapless 1/48 scale P-40 Flying Tigers Warhawk.

So there you go - there's no limit at what you can do, and the bottom line is, you got to have fun with it.