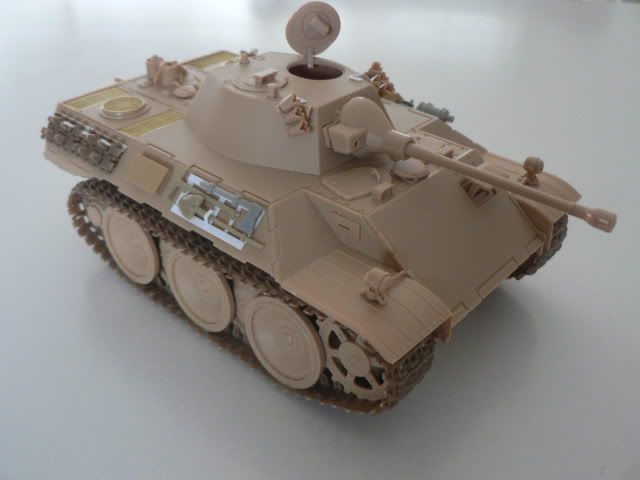
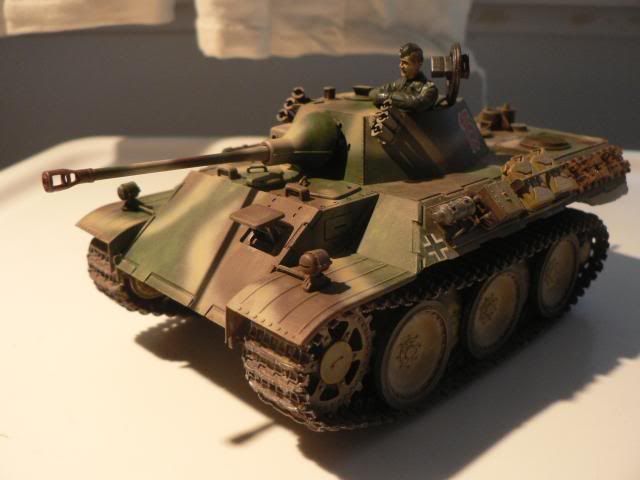
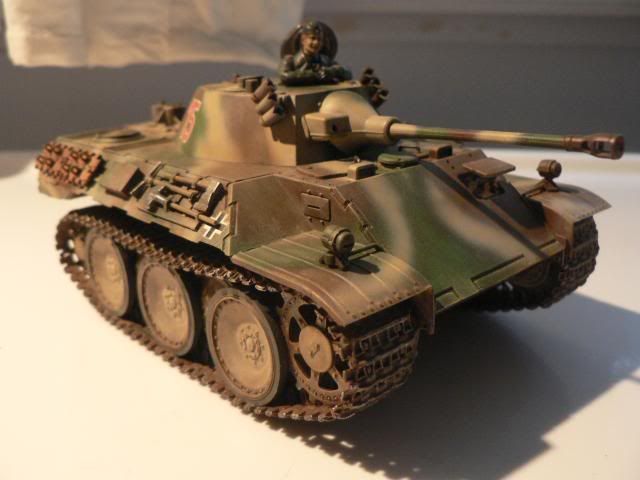
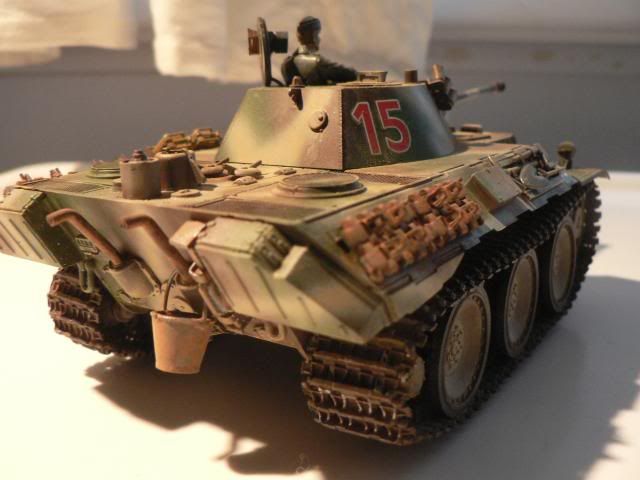
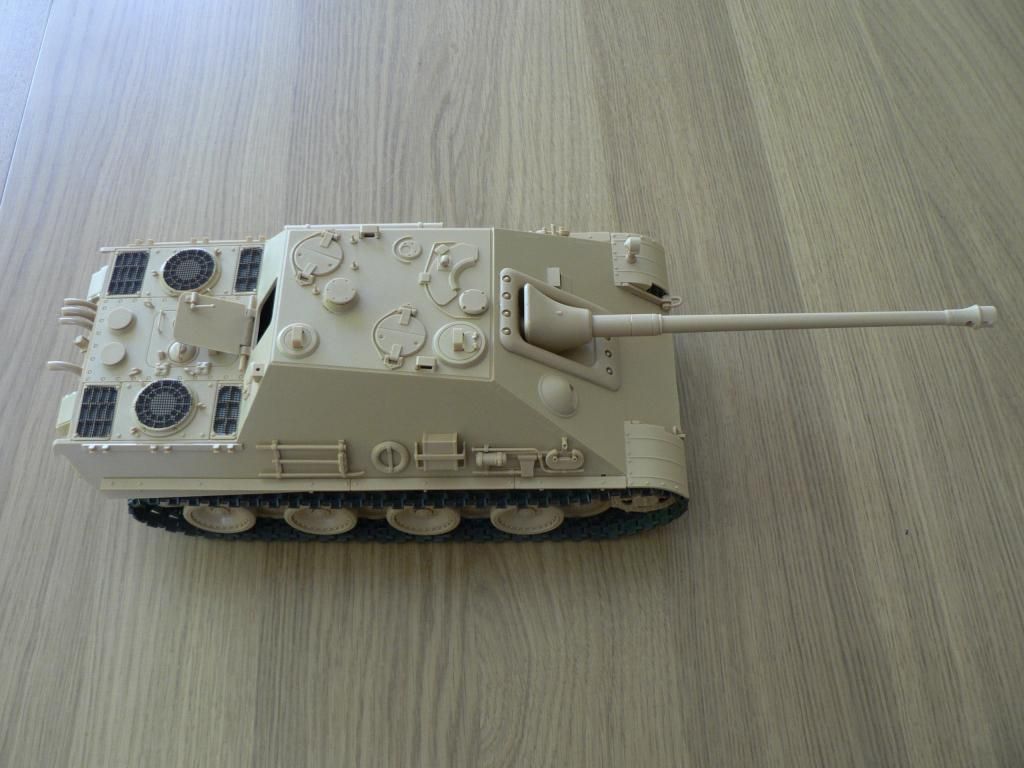
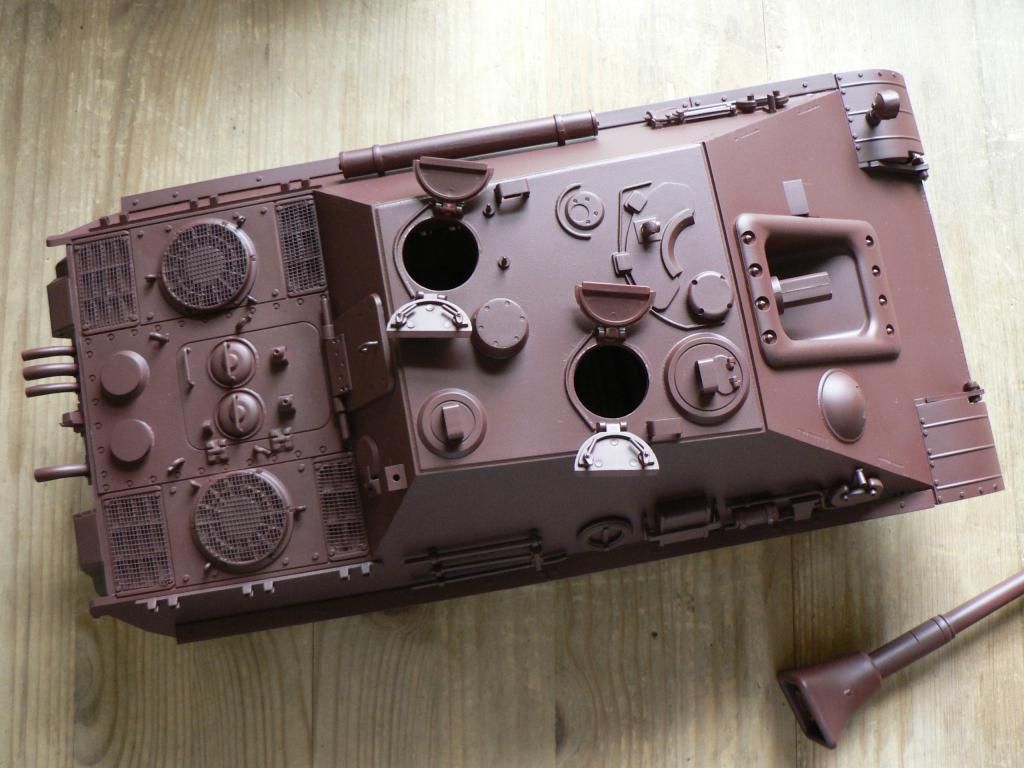
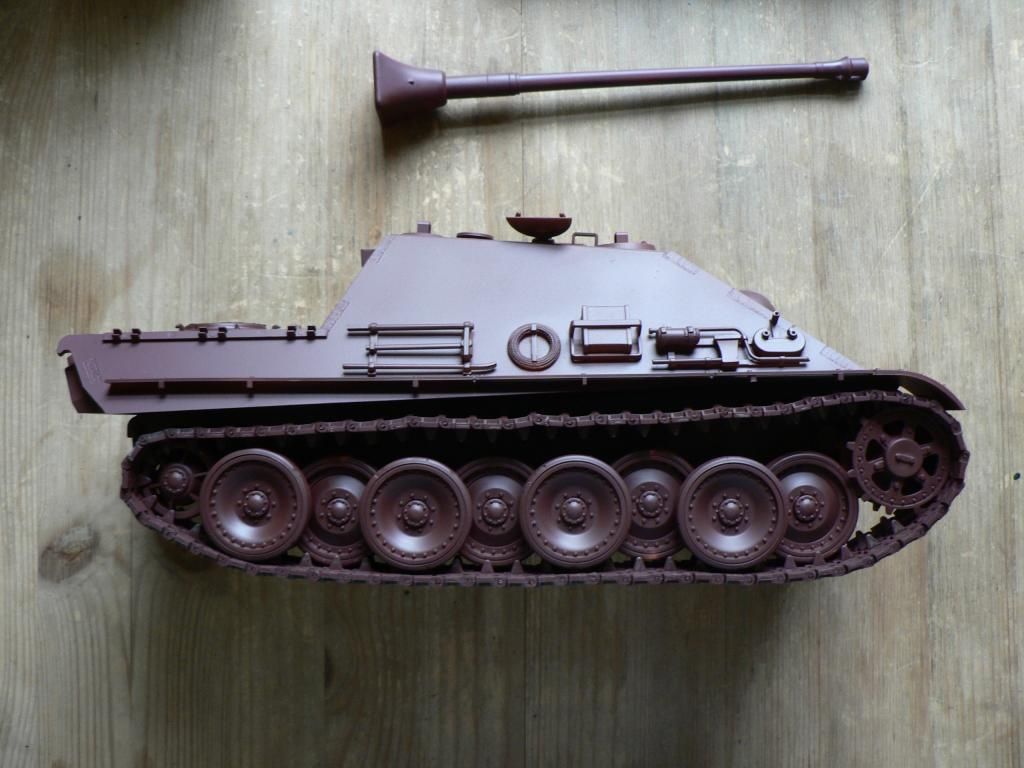
Sometime back we showed everyone how we went about applying primer to a kit. Using that as a base, we are now going to simply work our way into painting a standard late-war German camoflage pattern. First up, a look at what we have.
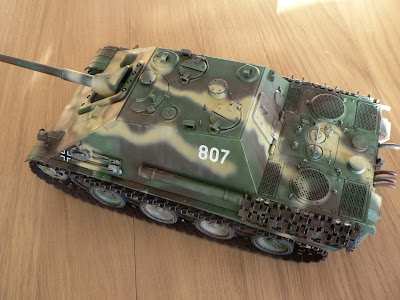
As we can see here, the Jagdpanther is completely covered with the Vallejo primer. What we will use to add the colours is a combination of three Vallejo air colours.
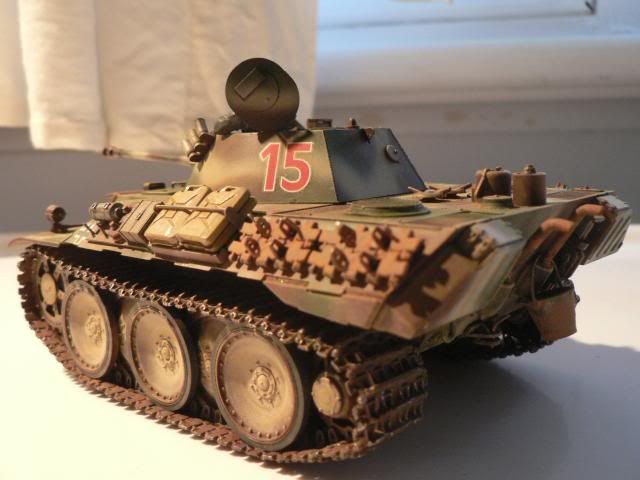
We do follow a researched pattern which was loosely based on a photo found online. Many late-war German vehicles had larger swatches of green and brown over the dark yellow, due to the fact that they saw combat more and more in the temperate forests of northern Europe.
Don't worry too much about following the pattern as indicated on instruction sheets or references. The thing is, the actual vehicle's painter would have faced the same dilemmas with applying a paint job the same as you. Crevices and tight corners would have been tougher to work on if the subject was a gigantic 20 ton immovable monster.
Don't forget to apply paint to often overlooked areas. The undersides of the main gun and under certain objects and details which would not be obvious if you were looking downward, but easy to spot if your eyes were on the same ground level
as the vehicle.
Adding the third colour, dark yellow, completes the image of a German tank. Since the green and brown is more dominant, the yellow highlights the pattern.
Note that we applied a bit of the colour on to the road wheels. In later stages, a bit of colour on the wheels and bogies will be relevant, but not necessary as mud and weathering will take precedence.
We painted over all the outside tools as well, since we'll be brush painting the details on by hand. And that's coming together nicely. We used Vallejo Air paints for the entire job - very easy to handle and clean up, and at the same time easy to spray on and dry in one afternoon!


